

Installing Right Angle Sink Fixtures – Watermark Fixtures
Installing Right Angle Sink Fixtures
WatermarkFixtures makes finding the perfect sink easy – available in a variety of sizes and finishes, there’s a gorgeous sink that will fit your style. Our vintage-inspired wall mount sinks add a classic and functional touch to your bathroom or utility room. With their minimal footprint, wall mount sinks are perfect for smaller bathrooms. For an added touch of both form and function, we offer decorative supply lines in a variety of finishes. To incorporate decorative supply lines in your bathroom, you will need to install hard right angles to bring the pipes down the back of your sink and to the water supply in your wall. Installing right angles is a quick process that offers
Right Angles + Your Wall Mount Sink
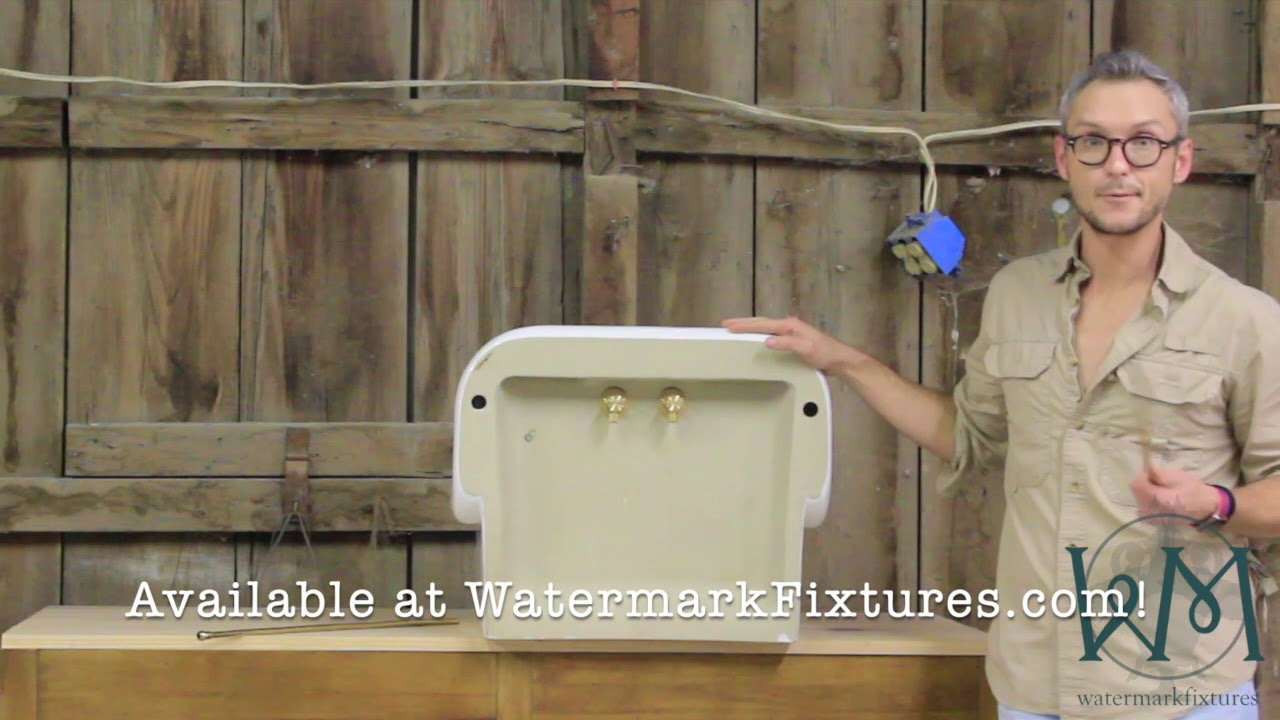
We promise – no math. Well, maybe just a few numbers. Right angles are a new solution to an old problem. They take the pipes from the very back of your sink and turn them at a right angle (that’s 90°!) so they travel down to the water supply in your wall. Right angles bring your supply line down from ½” to ⅜”. Installing them is a breeze. Start by wrapping teflon tape around the pipes at the back of your sink. Attach the right angle pieces to each side and then tighten with a wrench. Be careful not to over tighten, as this can crack the sink. On each right angle pipe there is a compression valve, unscrew them slightly. Insert the supply line through the compression valve and into the right angle piece. Tighten the compression valve with a wrench (again, don’t over tighten!). And that’s all there is to it. Your sink is now ready to mount on the wall and to complete your installation.
A quick note! The SC1815 sink features two holes at the bottom through which you should bring up your water supply line. It’s the only sink with this feature.
Check out our easy to follow instructions and walkthrough video below.
Materials
Wall Mount Sink
2 Hard Angle Compression Tubes (
2 Supply Lines
Teflon Tape
Wrench
Instructions
- Start by wrapping the two pipes at the back of the sink with teflon tape.
- Attach the right angle conversion pieces to the pipes at the back of the sink.
- Use a wrench to tighten. Be careful not to over tighten.
- Unscrew the compression valve on each right angle pipe slightly.
- Insert the water supply lines up into the back of the sink (or through the holes drilled into the bottom of the sink of the SC1815 model), through the compression valves, and into the right angle pipe.
Tighten the compression valves to hold the water supply lines in place.
0 Comments for “Installing Right Angle Sink Fixtures – Watermark Fixtures”